
**This article may contain affiliate links. As an Amazon Associate, I earn from qualifying purchases at no extra cost to you.
Feliz Carnaval from Bolivia! Down here we’re enjoying a nice long weekend and doing some travel in our amazing country.
Bolivia is absolutely incredible. It has a rich history, and breathtaking, diverse landscapes to explore. With that being the case, I am often so amazed and frustrated by how little tourist information seems to be available! Most, if not all, of the trips Andrew and I have taken while living here have been made possible only through word-of-mouth information and help from our Bolivian friends (thanks you guys!). For a country filled with snow-capped mountains and dense jungles, there is surprisingly little information available for trekkers and backpackers looking to do some exploring without hiring a guide. This weekend, we were able to get out and do some trekking on our own around the beautiful Lake Titicaca. Lake Titicaca is the world’s highest navigable body of water, and it helped give birth to ancient Andean civilizations. As a Michigan girl, it was a ton of fun to be around a huge body of water again! There are plenty of hostels and places to stay around the lake, but we had the itch to backpack this weekend. If you’d like to do the same, here’s our how-to guide!

What to Pack:
- All-weather gear. When the sun is out, it is super warm and nice. When the clouds roll in, it’s freezing! And, of course, it can rain at any time, especially if you go during the rainy season (October through May) like we did.
- Sun protection! At the Lake Titicaca’s high altitude (12,500 ft. above sea level), the sun can be unrelenting. Be sure to pack sunscreen and a hat to shade your face and neck. Our favorite sunscreen is Blue Lizard. It’s chemical free and works really well!
- Water bottles and a water filtration system. There’s plenty of fresh water nearby since you’ll be trekking beside the lake, but you should definitely filter it to stay safe. A gravity based filter like the Platypus GravityWorks works well and packs light, and I always prefer a hydration pack versus a water bottle so that I can easily stay hydrated without having to stop hiking. Nothing beats altitude sickness like good hydration!
- A light weight tent. We really like our 2+ sized tent since there’s enough room for us to sleep inside and keep our packs out of the rain. One like this would work great!
- A sleeping pad to put under your sleeping bag. We absolutely love our Klymit sleeping pads! They are so lightweight, pack down very small to save space, and are super comfortable to sleep on. The best sleep I’ve ever gotten on a backpacking trip is thanks to this handy tool!
- Camera, GoPro, or someway to take photos, and a portable charger or extra batteries to be sure you can capture all three days of your adventure.
Getting There:
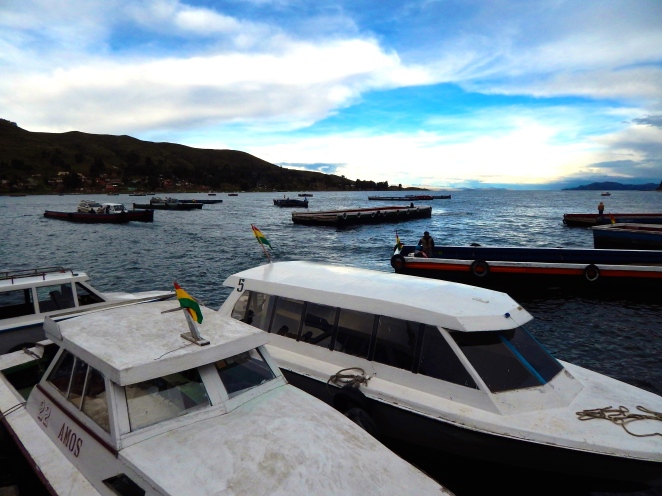
From La Paz, it is really easy to get to Lake Titicaca and the start of our trek in Copacabana. Just take any mini-bus, trufi, or taxi to “Cementario.” There will be tons of local and tourist buses labeled with “Sale a Copacabana” lined up on the street. We decided on a local bus which only cost 30Bs (about $4.50). In order to get to Copacabana early enough to start our trek, we left La Paz around 6:30am. After about 3 hours, you will arrive at a small town called Tiquina where you will have to ferry across part of the lake. The vehicles and people have separate ferries, so you will have to leave your bus, buy a ferry ticket (2Bs), and then get back into your bus on the other side before continuing another hour to Copacabana.
Day 1 – Copacabana to Yampupata
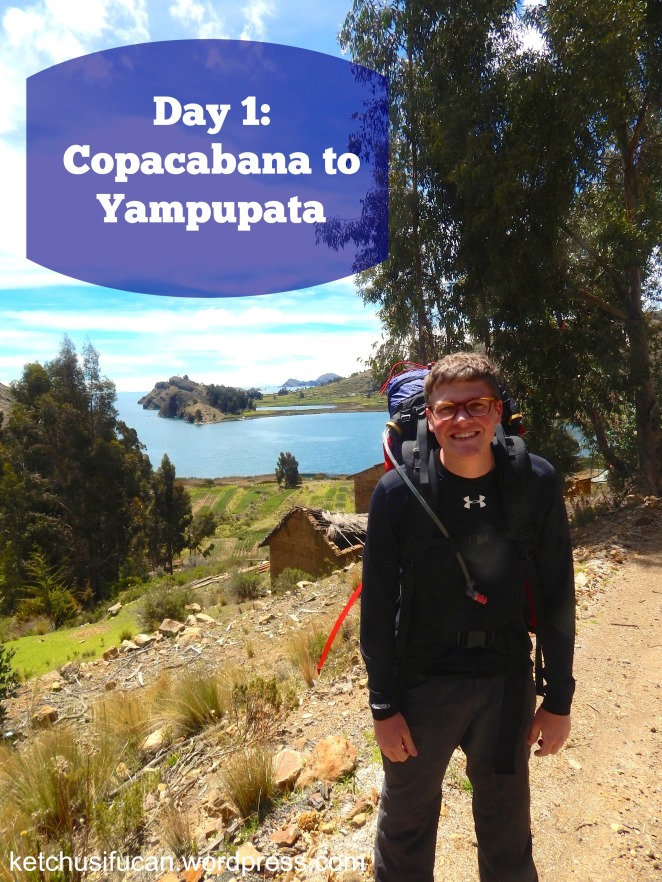
Mileage: 11-12 (Don’t trust guidebooks! We thought it was going to be a 10-mile day tops, but we were led astray.)
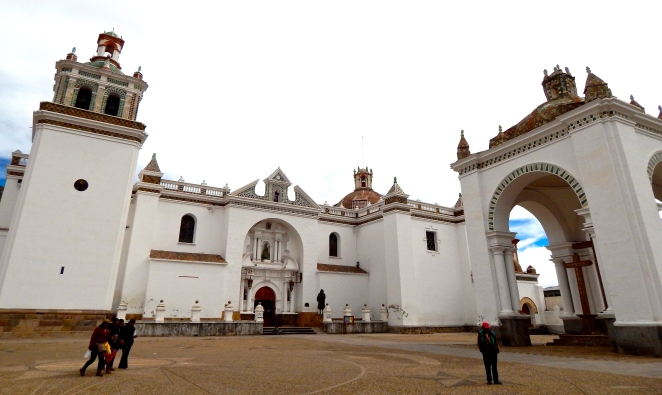
When you arrive in Copacabana the bus will drop you off in front of the city’s beautiful white basilica. Check it out for a few minutes before heading off on your trek!
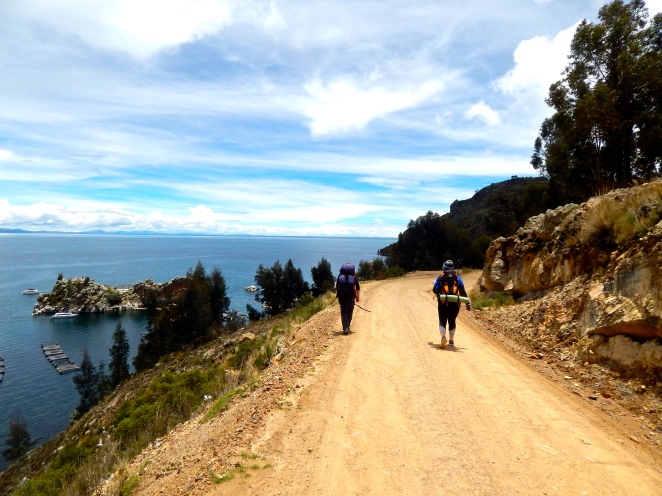
To start, turn your back to the church and walk to the far right corner of the square, then head down that street. The road will take you out of town following the coastline of the lake. For a majority of the trek on the first day you will simply be following this road. Easy-peasy!
About an hour in, you will start to pass by some “Islas Flotantes,” or floating islands. I highly suggest stopping by one and enjoying the traditional dish of Lake Titicaca communities – trucha! The fish is super fresh, safe to eat, cheap, and delicious. And you get to eat it while floating on the lake!
After filling up on some trucha, continue down the road for another few hours until on your left you see a small footbridge leading up to the “Gruta de Lourdes,” a cave with a shrine to the Virgin. Here, directly after you cross the little bridge, turn to your right to trek up an Inca road! This portion of the trek is steep, but will cut off some time traveling on the dirt road and let you walk the same path that the original inhabitants of the area used.
Rejoin the road at the top of the hill and continue on through the villages of Titicachi and Sicuani, up and down, until you finally reach Yampupata at the tip of the peninsula stretched out toward the Isla del Sol.
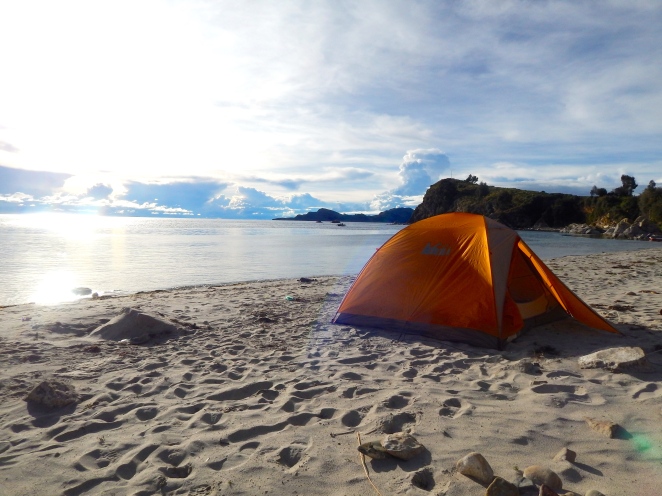
In Yampupata, we were told by friends of ours to find a flat space, perhaps even the village soccer field, to pitch our tent. However, we got super lucky and met a man on our way in who directed us to the left edge of town where a white sand beach awaited us! The most beautiful of camping spots – and free too! Our friend also offered to take us across to the Isla del Sol in the morning in his fishing boat for 20 BOB (about $3 USD) per person. We thanked him and started to set up camp – using rocks to hold down our tent stakes in the sand (and good thing, too, because the winds can get pretty strong coming off the lake at night). The lake water is perfectly good to filter for refills as well!
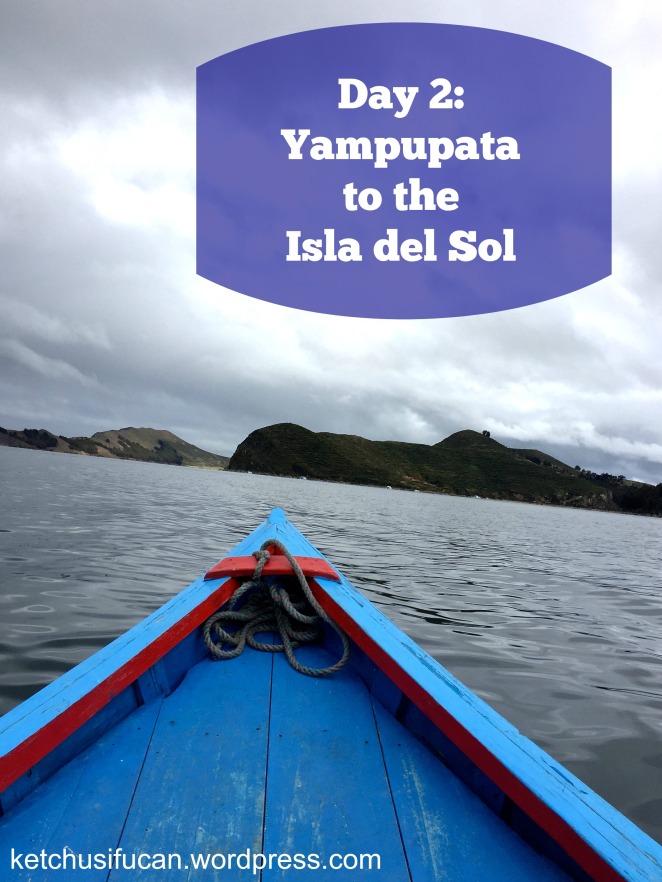
Day 2 – Yampupata to Isla del Sol
Mileage: 7-ish
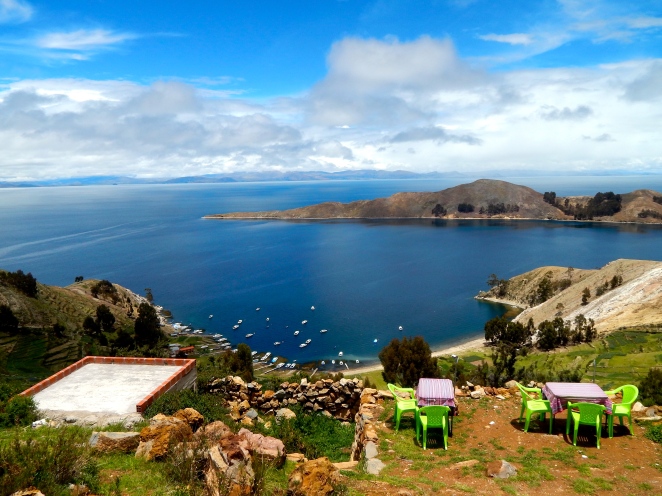
In the morning, as promised, our new friend took us across the lake in his fishing boat to the southern-most tip of the island. This is not the main southern port where the village is, but a smaller dock closer to the Yampupata peninsula. From here, our guidebook and friends had told us there was a trail that led to our left. However, no such trail existed and we ended up essentially scaling a cliff with heavy packs on our backs. I do not recommend this! Instead, take the well-marked trail that leads right and use that to get to the top of the ridge. There, you will find the actually existing trail that leads where you want to go. We eventually (miraculously) did survive and make it to the top of the ridge and the trail. From there, we hiked to the main southern village on the island, Yumani. Lots of hostels and restaurants are here if you want to “glamp” for a bit and grab a warm bite to eat.
From the town, the main Inca trail on the island, the “Ruta Sagrada,” leads further onto the island. You’ll have to pass through a few Boleterías to purchase “tickets” for about 10-15Bs. A bit of a pain, but put a smile on and support the local economy! About the time you reach a sign that says “Welcome to Challa,” you will veer to the left on a smaller trail that will take you toward your campsite for the night which is beside the far north bay of the island. Enjoy the trek through the pastures of sheep until you get back to the water’s edge. We had planned to camp on the playa here, but instead of meeting a nice beach like the previous night, we met with a lot of pebbles and rocks… not exactly ideal for a tent. We decided to camp on the plain between the hills instead. A beautiful ending to a beautiful, if slightly unpredictable, second day.
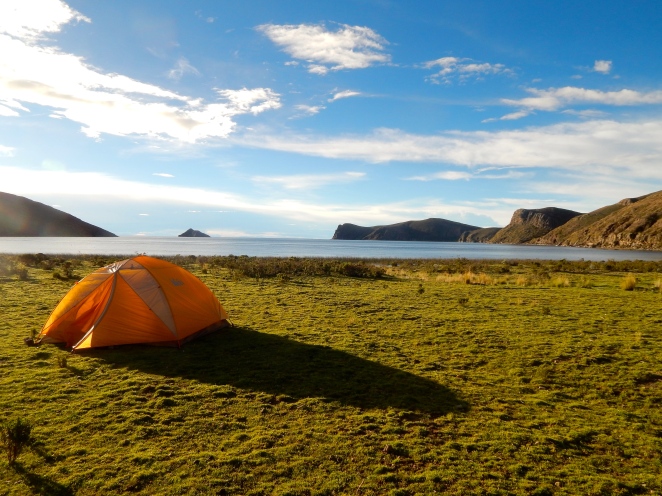
A few words to the wise: Be careful setting up your tent here. There is a ridge on the plain that will stay dry, but there are also some marshy areas that you wouldn’t want to have your tent on in the event of a rainstorm. Also – don’t have a fire on the island! This is going to sound crazy but the rocks will explode. I know, I didn’t believe it at first either, but it’s true. On the plain there are several rivers running towards the lake that are good for filtering.
Day 3 – To Challa Pampa and Back Home Again
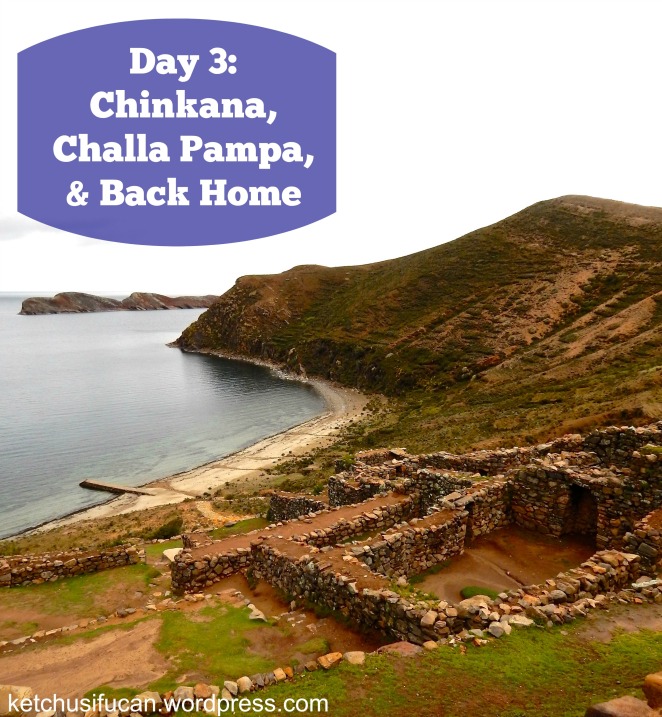
Mileage: 5-ish
On the third morning our luck with the weather ran out and we were greeted with clouds and showers instead of warm sunshine. The beginning of this final day’s trek is not an easy one, as you have to climb up the mountain to the right of the inlet to rejoin the Ruta Sagrada trail up on the ridge. Continue down the trail to the very end and you will find the ruins of Chinkana. Chinkana is the Quechua word for “labyrinth,” and if you explore the ruins you will see why! While Chinkana is no Machu Picchu, it is a fun and intriguing pit stop.
After you’ve explored the nooks and crannies of this Inca site, turn back and continue on the trail that leads down and to your left, following the coast. This leads to the town of Challa Pampa where you will be able to catch a ferry back to Copacabana. Heads up: the last ferry leaves at 1:30 pm, so plan your day accordingly so as not to get stranded on the island for an extra day!
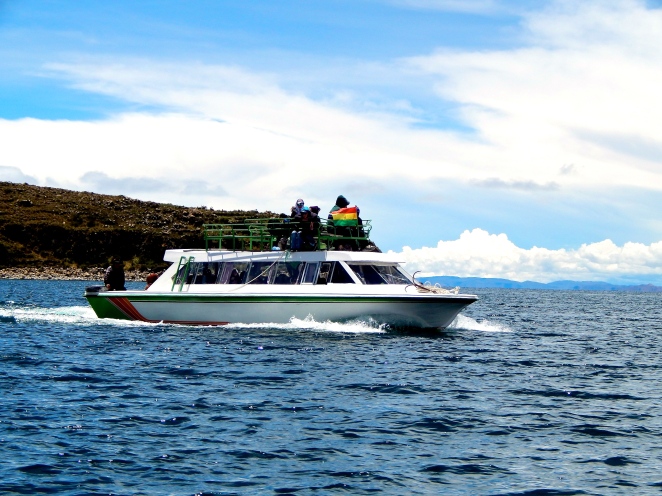
After the ferry ride back to the mainland, you can easily find a bus back to La Paz. Just look for the “Sale a La Paz” sign in the windows and hop in!
I really hope someone out there finds this blog and thinks, “Eureka! Now I can trek through one of the most gorgeous places in Bolivia!” and I hope you enjoy your trek around Lake Titicaca as much as we did. The views are spectacular and the experience is unforgettable!
If you’d like to see more from our trek, check out this video!

What an adventure! So glad you conquered the cliff and other challenges! Love your travelogue! Love you both 🙂
Mom K
LikeLike
Beautiful pictures and sounds like you had a wonderful trip. (Please be careful mountain climbing.
LikeLike
What a wonderful adventure! Thank you for sharing the beauty and the ecperience.
Love you
A. Susie
LikeLike
I love the pictures! What a gorgeous place!
LikeLike
Lake Titicaca was a part of geography lessons for me in school. So you just brought that to life. The views from your trek are something. Glad to have stumbled across your blog. Cheers.
LikeLike
Thanks so much! It is a truly beautiful and unique place.
LikeLiked by 1 person
Pleasure 🙂
LikeLike
Wow what an amazing experience. U are blessed to explore so much of God’s amazing creation and then blessing us to experience it with u. Thanks so much❣ Love and miss u both❣Hugs🤗
LikeLike
Love you too!
LikeLike